Overview
The Selective Call Acceptance feature allows users to only receive calls matching specific criteria. Criteria options include:
- Time and/or Holiday Schedule
- Specific numbers
- Specific area codes
Calls not matching the criteria will receive a message informing them that the recipient is not accepting calls.
Feature Prerequisites
- Premium User Seat
- Prior to building a schedule based criteria you will need to create a schedule for the time frame during which calls will be accepted.
Feature Setup
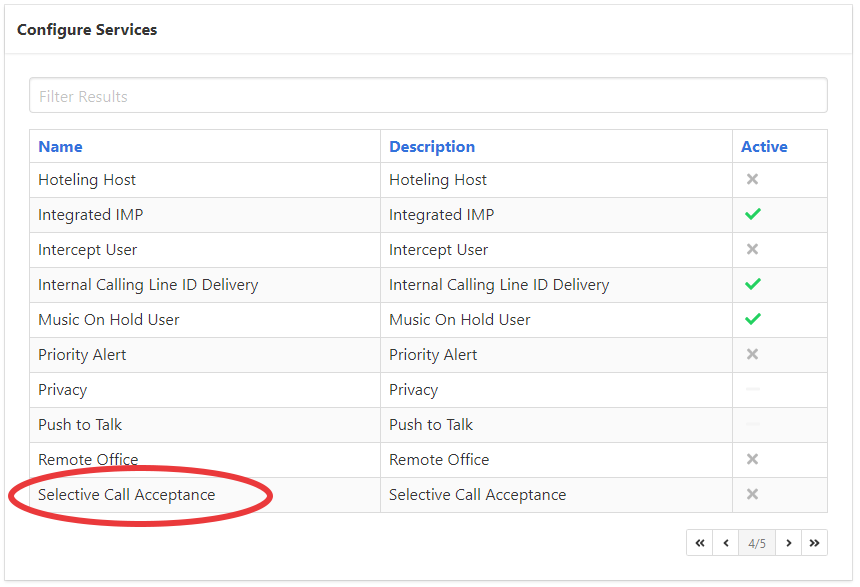
- Go to the group admin dashboard.

- Select the user or service on which you want to enable selective call acceptance.

- Click Service Settings in the left column navigation.
- Select Selective Call Acceptance from the services list.
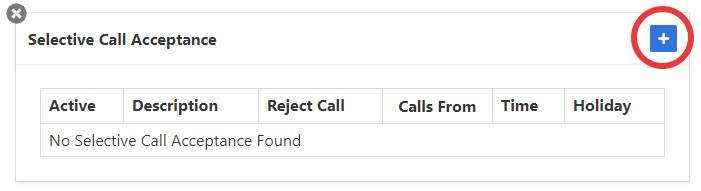
- Click the plus icon to create a new acceptance criteria.
- Set your criteria settings.
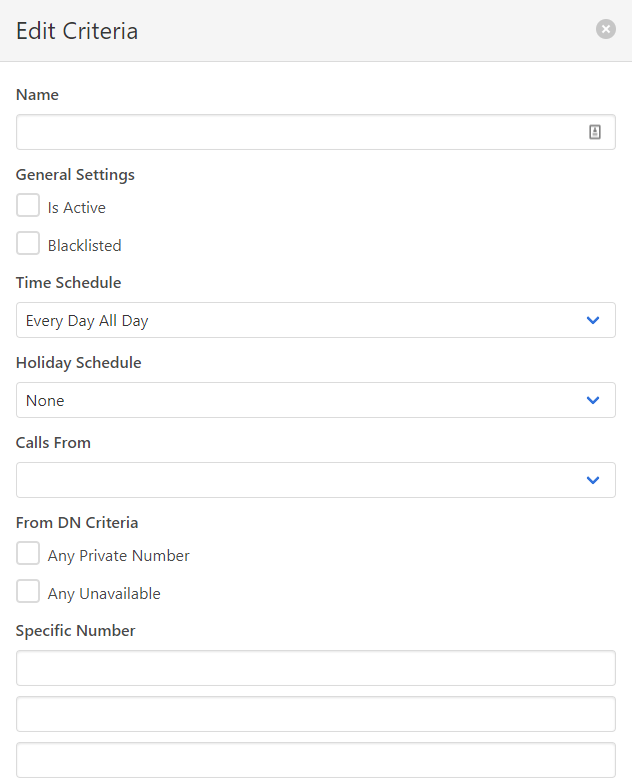
- Name – An identifying name for referencing the criteria later
- Is Active – Enables the criteria
- Blacklisted – If enabled, calls will NOT be accepted during the defined criteria.
- Time Schedule – The times during which you want calls to be accepted. You must create the desired schedule prior to completing this step unless you plan to use the Every Day All Day option.
- Holiday Schedule – If a schedule is selected in the Holiday Schedule field, calls will ONLY be accepted during the time that overlaps between the Time Schedule and Holiday Schedule.
- Calls From – This defines what calling phone numbers will be accepted. You can define specific numbers or define area codes using variables.
- For example, to notify on all calls from the 812 area code, you could enter 812XXXXXXX as one of the numbers in this section.
- Only 12 numbers / area codes can be defined per criteria so multiple matching criteria should be made if you need more than 12.
- Click Save to apply changes.